My family usually just buys the cardboard advent calendar at the grocery store every year, with the little chocolates. Well this year I decided that I wanted to do something a little more contemporary and creative. Advent calendars are fun, especially if you have little kids, like mine who are constantly asking, "how many more days until (insert holiday or major event here)?"
Of course I turned to Pinterest first for inspiration. You can visit my
Advent Calendar Board here.
 |
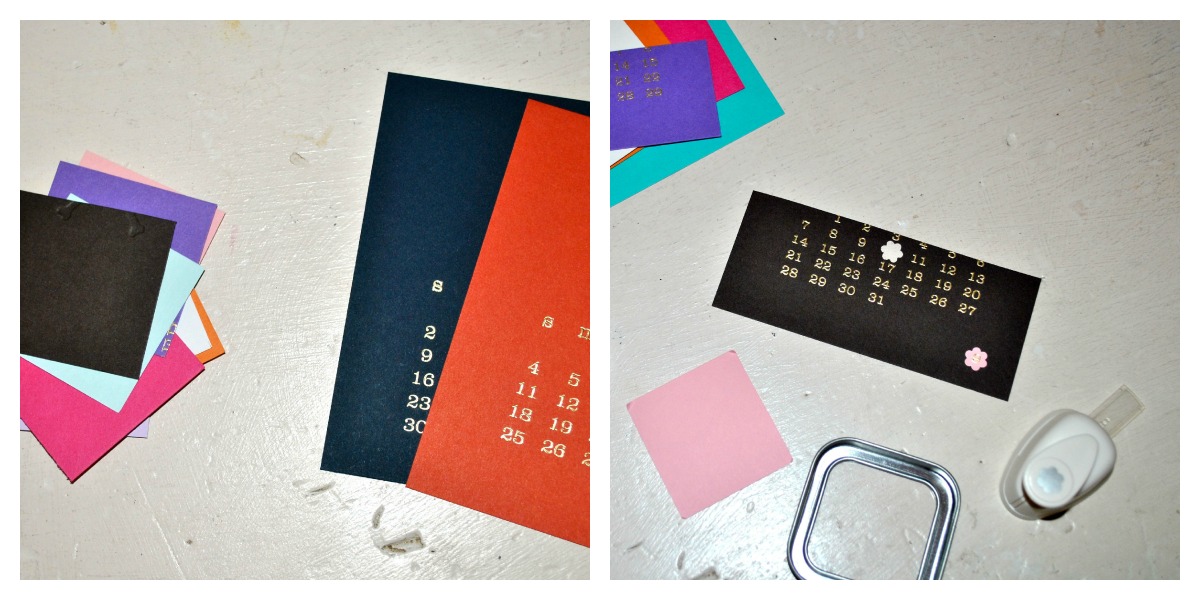
| I started out by recycling this adorable desktop calendar that I got as a gift last year from Jack and Lulu. I just loved the color scheme and the fact that the numbers were already embossed, would save me some time. |
 |
I cut out 2 cardstock squares from the corners of each calendar page and a corresponding number with a little flower hole punch. Remember, you will only need numbers 1-24 (or if you are starting this project later into December, you can really count down from any number of days.)
|
 |
I found these cute little tins in the wedding favor section at my local hobby store. They have clear lids so I stuck the card stock squares with glued on numbers into the lid of the box. I then added a magnet to the back of the tin.
 |
Add a cute little toy or candy to each tin. I also added a few holiday activities like "make cookies, drink cocoa, or go ice skating" to a few of the days.
 |
You can stick the magnetic tins on your fridge, or forgo the magnets altogether. I have a white magnetic board in my office that I found at Ikea that will work wonderfully.
I'd love it if you shared your DIY advent calendars so that I can see all the ways that others count down to Christmas!
|
|
|


No comments:
Post a Comment