More fine print: The pricing above is for us to acquire the listed items on your behalf and deliver them neatly to your door. Please click on our "services' tab at the top of our page to learn about what other party planning, set up, decorating and coordination and custom design work that we can offer you.
Business Description
Berthoud wedding plannebjhjhr A little bird told me you'd like some help planning your event.....
.

Showing posts with label Boulder party ideas. Show all posts
Showing posts with label Boulder party ideas. Show all posts
Monday, May 27, 2013
Stars and Stripes
Happy Memorial Day!
Prepare early for the next Red, White and Blue event by ordering your Stars and Stripes Mini Party Kit now. Contact me to order!
Friday, May 24, 2013
It's finally time for POPSICLES!
I love popsicles (and ice cream,) but it is hard for me to indulge in these treats unless the sun is shining. Popsicles mark the official start of summer for me and to celebrate the first day of my kids' summer break from school, we have invited some friends over for a summer popsicle party today. (More on that in another post.)
Popsicles are not just for eating though. I hope that my Etsy Treasury inspires you in your summer fun.
Popsicles for Wearing:
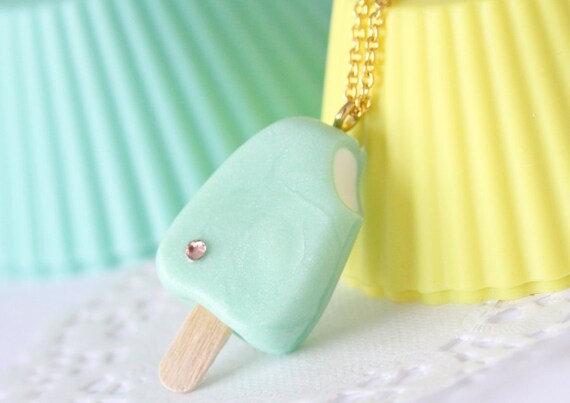 |
| Necklace by Pink Island |
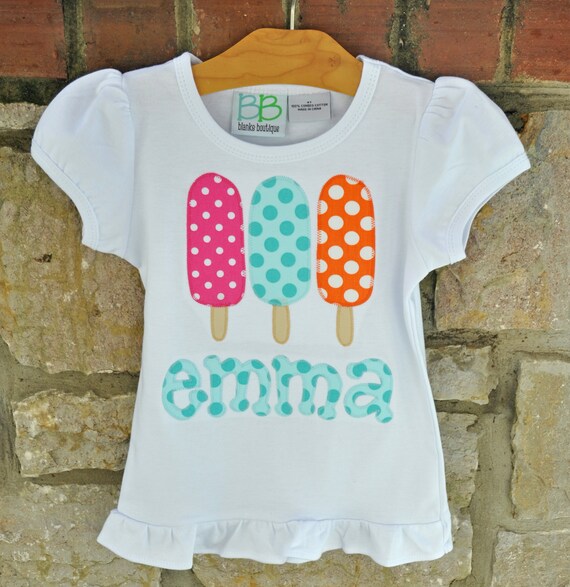 |
| Ruffle Tee by Julianne Originals |
Popsicles for Crafting:
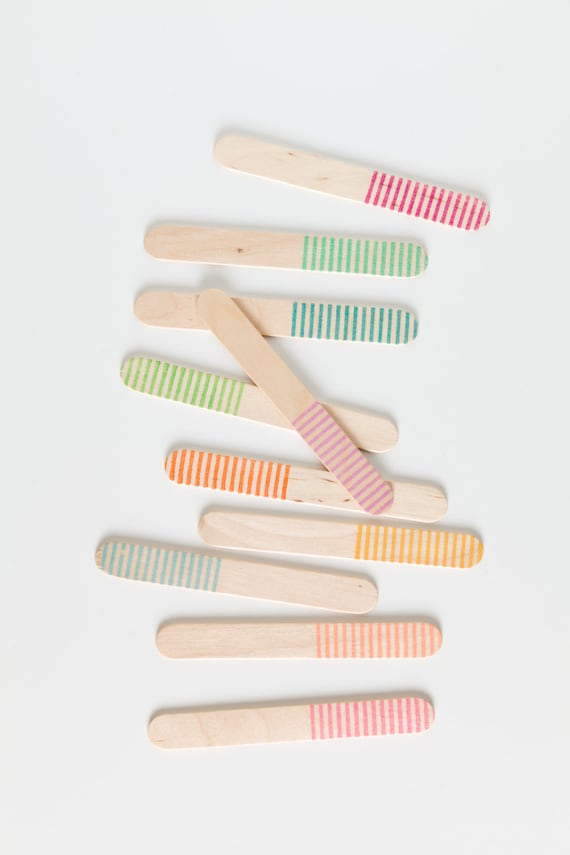 |
| Popsicle Sticks by Sucre Shop |
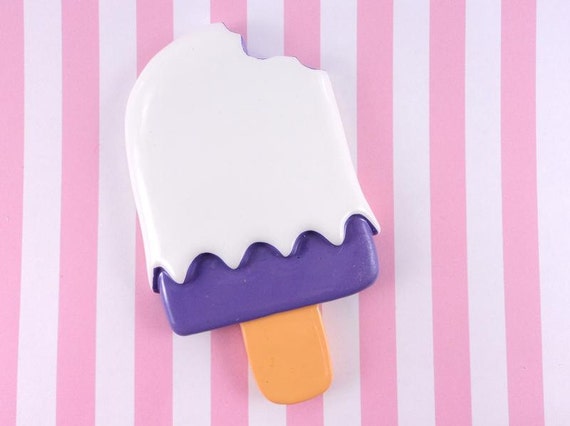 |
| Flat Back by Bling It 2 |
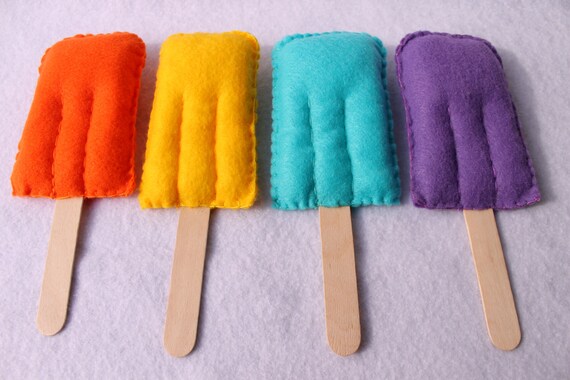 |
| Felt Popsicles by Katie Fish Designs |
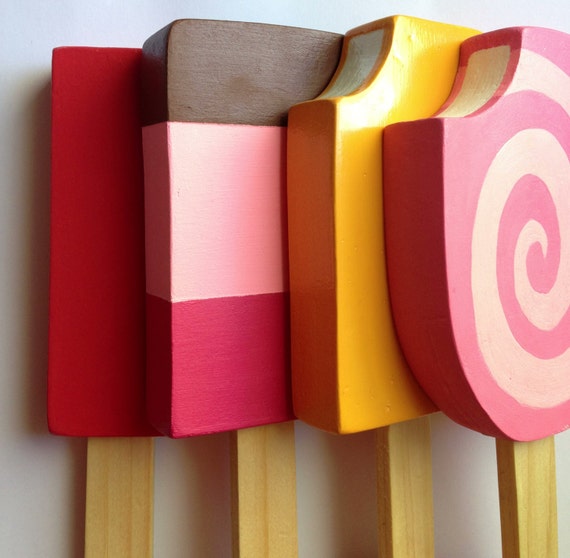 |
| Wooden Play Food by BYOI |
 |
| Invitation by Petite Party Studio |
 |
| Cupcake Picks by Sweete Steele |
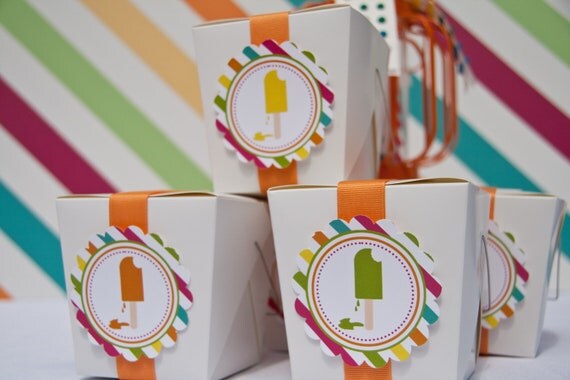 |
| Favor Stickers by Bellezaeluce |
Monday, May 20, 2013
6 End of the Year Teacher Gift Ideas
Wow! It's the last week of school already and time to thank our teachers for all that they did for our kids this year! As I do whenever I am in need of some last minute creative inspiration, I turn to Pinterest. Here are a few ideas (some even include some free printables,) for you to say thank you to your child's teacher. Happy summer!
Thanks for helping me GROW!
I love my TEAcher!
Summer Fun Basket
Apple Coasters
Teachers plant seeds of knowledge
Thanks for making me one smart COOKIE
Tuesday, May 14, 2013
Graduation Party Hosting Tips
Whether hosting a high school, college or kindergarten graduation party, there are a few simple tips that I encourage you to follow for the most successful and stress-free event.
- No Under-age Drinking- Other than just being a general no-no, this is an important time to enforce the law. Kids and young adults that are of driving age typically travel from party to party, they will be on the road and should not be drinking and driving. If you hold the party at a bar or venue where you are lucky enough to have a staffed bar, have IDs checked or wristband guests over 21 as they come in the door so it is easy to see who can be served.
- Photographs- This may be the last time, until a reunion, that the group will all be together. Take a lot of photos, either with disposable cameras set out all around the party room, or with iPhones and then upload to a group file-sharing site so that everyone will have copies. *Gift tip- a photo album or frame is always a safe gift choice for a grad.
- School Colors- Looking for a theme other than black, white and little graduation caps? Use the guest of honor's school colors to choose your streamers, balloons, paper plates, napkins and cake decor.
- Mark Your Entrance- You will, in all probability, have many guests that may have never visited your home, or other address before. Make sure that you clearly mark the entrance to the front door, park pavilion, etc. You can do this by hanging a banner with the graduate's name, put out balloons or yard signs.
- Estimate High- Unfortunately, guests, especially kids, don't usually RSVP for parties. That being said, when you are buying drinks and food for the party, estimate high. You may end up with leftovers but it is better than running out of food.
- Make It To Go- Usually, graduation parties are come and go events, have lunch or snacks easy to pick up and walk around with or take to go.
- Sunny Days- At the end of May, the weather can still be fickle and people are not always back into the habit of putting on sunscreen, daily. Be prepared with bottles of sunscreen, chapstick and cheap sunglasses for your guests to borrow, especially if you are holding the shindig at a park or pool.
- Plan Some Activities- No, its probably not like a 5 year old's party with pin the tail on the donkey, but you should have a few options for your guests to keep busy and entertained. Set up a horseshoe pit, Photo Booth or a build your own s'more station.
- Get Creative with Treats- Pinterest is filled with easy DIY recipes that fit the bill. Search for these Graduation Cap Pops or Pirouette Cookie Diplomas.
Congratulations to all of you 2013 graduates including you, Raven Gereaux and Sarah Bailly!
Monday, March 25, 2013
More Easter Freebies
I scoured the world-wide web for round two of my favorite Easter free printables for your Easter party or celebration. Have fun!
Origami Bunny Tag
| photo from EatDrinkChic |
I love this Modern Origami Bunny Tag from Eat Drink Chic. Wouldn't it look adorable on a little basket filled with goodies from the Easter Bunny?
What you will need:
- Colour Printer
- White printable card stock
- White printer paper
- Pencil
- X-acto knife / Scalpel
- Ruler
- Cutting board
- Glitter paper or card ( From craft shops. I sourced mine locally from Spotlight. )
- Twine
- Small round hole punch
| photo from EatDrinkChic |
Bunny Cameo
Download your vintage-looking bunny cameo printable from Craftily Ever After.
 |
| photo from CraftilyEverAfter |
Easter Bunny Bunting
How cute is this printable bunny bunting from The Sweetest Occasion? Download in navy or peach.
| photo from TheSweetestOccasion |
What you will need:
- Colour Printer
- White printable card stock
- Scissors
- Twine
- Mini clothespins
| photo from TheSweetestOccasion |
Easter Cards
 |
| photo from Funkytime |
| photo from Funkytime |
Happy Easter!
Saturday, March 23, 2013
5 New Egg Easter Decorating Techniques
Does anyone else get tired of buying the little cardboard box with the colored tablets that you mix in a little cup of water and vinegar. Sure, you can use crayons to draw designs on the eggs before you dye them, but how about trying some new Easter egg decorating techniques this year?
Tools and Materials: Small, sharp scissors
Patterned white paper napkins
Mod Podge glue sealant
Small and medium craft brushes with noncolored handles
Blown-out eggs
Tools and Materials:
Raw eggs
Egg dye
Confetti
Gold Glitter
Tissue paper
Glue
Pin/Needle
Scissors
Instructions courtesy of BetterHomesandGardens
1. Using a crafts punch, punch circles from double-sided adhesive.
Instructions courtesy of BetterHomesandGardens
Crepe Paper Eggs
| photo from MarthaStewart.com |
Instructions courtesy of MarthaStewart.com
Combine various techniques -- bands, leaf garlands, and flowers -- to dress up plain and dyed eggs.
1. To make stripes: Cut strips from a folded sheet of crepe paper with pinking shears. Apply glue to each end of strip; adhere to egg.
2. To make a garland: Cut 18 leaves for each egg from crepe paper. Glue bottom tip of each leaf to egg, overlapping slightly.
3. To make a flower: Cut a 1 3/4-inch circle from crepe paper. Fold in half, and then fold in half again. Pinch pointy end; insert a finger among paper layers and spread them to look like a flower. Fold pointy end, and glue it to underside of flower; let dry. Cut out 2 leaves. Glue flower and leaves to egg.
Tools and Materials:
Various colored crepe paper
Pinking shears
Modge Podge or other glue
Hard-boiled or Blown-out Eggs
Paper Napkin Decoupage Eggs
| photo from MarthaStewart.com |
Instructions courtesy of MarthaStewart.com
1. Trim loosely around the designs on a white napkin using small scissors. Separate printed top layer; discard lower sheets.
2. Coat part of a blown-out white egg (or a white paper tag) with Mod Podge using a small brush. Apply 1 cutout design to egg (or tag); smooth with brush. Let dry. Repeat, adding designs as desired.
3. Apply Mod Podge with a medium brush to entire egg (or tag). Let dry.
Tools and Materials: Small, sharp scissors
Patterned white paper napkins
Mod Podge glue sealant
Small and medium craft brushes with noncolored handles
Blown-out eggs
Confetti Eggs
 |
| photo from ohHappyDay |
Instructions courtesy of OhHappyDay
1. Using your sewing pin, poke a single, small hole at the top an egg.
2. Open up a larger hole at the bottom of the larger part of an egg.
3. If your yolk is too large, sometimes it helps to use a toothpick or something to stir the yolk up and make it more liquid
4. Let the egg drain out of the larger hole into a bowl, blowing the residue out through the small pin hole in the top of the egg if you need to encourage the yolk out a little more quickly.
5. Rinse the egg shell (you can add a little bleach to get rid of the egg smell) and allow it to dry.
6. Use dye to color the eggshell (you’ll have to fill the hollow shell with dye to make it stay submerged); allow to dry thoroughly.
6. Use dye to color the eggshell (you’ll have to fill the hollow shell with dye to make it stay submerged); allow to dry thoroughly.
7. Fill the egg about halfway with confetti (or whatever you decide to put inside). Use a funnel if needed.
8. Cut a piece of tissue paper slightly larger in size than the egg’s hole. Glue the paper to the edges of the hole.
8. Cut a piece of tissue paper slightly larger in size than the egg’s hole. Glue the paper to the edges of the hole.
Raw eggs
Egg dye
Confetti
Gold Glitter
Tissue paper
Glue
Pin/Needle
Scissors
Glitter Polka Dot Eggs
| photo from BetterHomesandGardens |
1. Using a crafts punch, punch circles from double-sided adhesive.
2. Attach the circles to the eggs.
3. Pour different colors of glitter into separate bowls.
4. Roll each egg in glitter; remove excess with a clean paintbrush.
For a multicolor egg, place a few stickers on an egg at a time. Roll in glitter, remove excess, adhere more circles, and repeat with a different color glitter.
Tools and Materials:
Hard-boiled or Blown-out Eggs
A circle craft punch
Hard-boiled or Blown-out Eggs
A circle craft punch
Double-sided adhesive tape
Confetti
Confetti
Pretty Taped Eggs
| photo from BetterHomesandGardens |
Instructions courtesy of BetterHomesandGardens
1. Tear small pieces of your favorite patterns and cover an egg.
2. Smooth out air bubbles.
Tools and Materials:
Hard-boiled or Blown-out Eggs
Washi Tape at least 1/2 inch wide
Hard-boiled or Blown-out Eggs
Washi Tape at least 1/2 inch wide
I would love to see pictures of your unique egg decorating techniques! Please send them to Katie@littlebirdcelebrations.com or post them to my Facebook page.
Tuesday, March 12, 2013
Seeing Green
Emerald green, Hunter green, Lime green, Mint green, who doesn't love green? I searched Etsy for my favorite St. Patricks Day paraphernalia and created a treasury list of shamrocks, leprechauns and all that is green. Happy St. Patrick's Day!
 |
| Headbands by Little Evie Designs Banner by Little Pumpkin Papers Leprechaun Cupcake Toppers by Sugar Fox Shop Paper Flowers by MC Funk 90 |
Saturday, December 1, 2012
DIY Advent Calendar
My family usually just buys the cardboard advent calendar at the grocery store every year, with the little chocolates. Well this year I decided that I wanted to do something a little more contemporary and creative. Advent calendars are fun, especially if you have little kids, like mine who are constantly asking, "how many more days until (insert holiday or major event here)?"
Of course I turned to Pinterest first for inspiration. You can visit my Advent Calendar Board here.
Subscribe to:
Posts (Atom)


